Before ordering concrete, measure the shape you will actually fill. Concrete is a mixture of cement, aggregate and water; cement alone is only one ingredient. For a ready-mix order, the number you need is the volume of concrete, usually stated in cubic yards or cubic metres.
Calculate concrete volume accurately with measured dimensions, worked examples and seven checks that help you prepare a clear supplier order.
The basic volume formula
For a rectangular slab or footing, multiply length × width × thickness. Keep all dimensions in the same unit. In feet, the answer is cubic feet; divide by 27 to get cubic yards. In metres, the answer is already cubic metres.
Volume (yd³) = length (ft) × width (ft) × thickness (in) ÷ 12 ÷ 27.
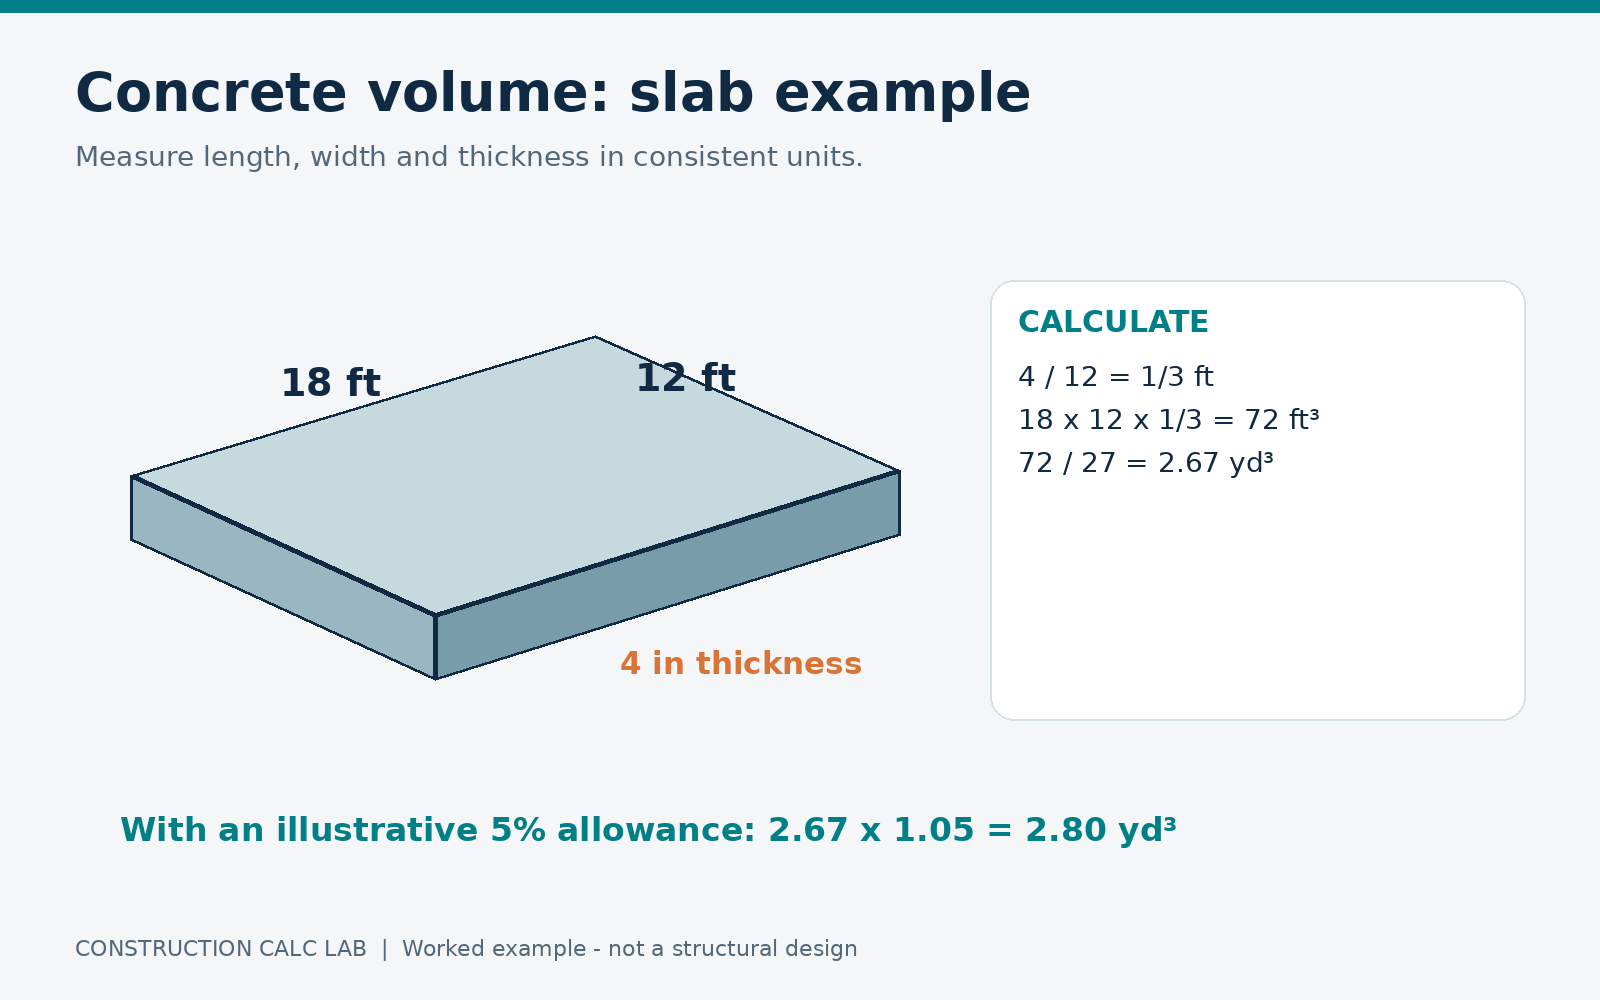
Worked example: a 12 × 18 ft slab
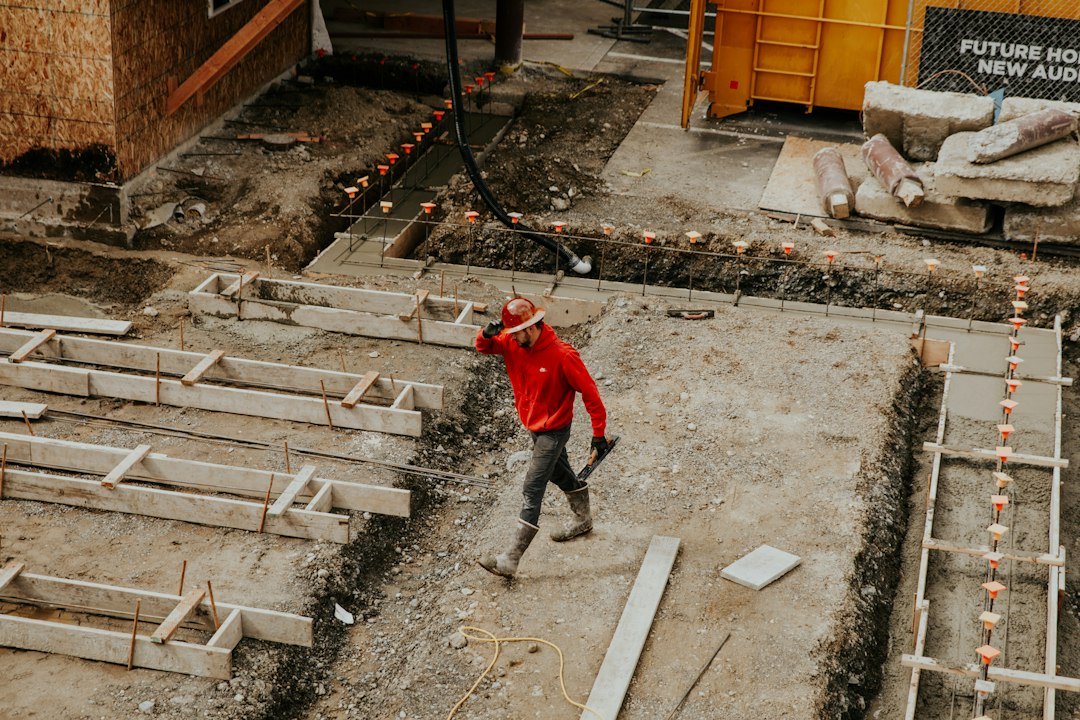
Suppose a slab is 12 ft wide, 18 ft long and 4 in thick. Convert the thickness to feet: 4 ÷ 12 = 0.333 ft. The nominal volume is 12 × 18 × 0.333 = 72 ft³, or 2.67 yd³. If site conditions justify a 5% allowance, 2.67 × 1.05 = 2.80 yd³. Check the supplier’s order increments and minimum load before rounding the order.
| Measure | Value | Calculation |
|---|---|---|
| Area | 216 ft² | 12 × 18 |
| Thickness | 0.333 ft | 4 in ÷ 12 |
| Nominal volume | 2.67 yd³ | 72 ft³ ÷ 27 |
| Illustrative 5% allowance | 2.80 yd³ | 2.67 × 1.05 |
Footings, posts and irregular areas
A rectangular strip footing uses the same formula. For a 30 ft run, 2 ft width and 10 in depth: 30 × 2 × (10 ÷ 12) = 50 ft³ = 1.85 yd³ before any allowance. For several runs, calculate each section and add their volumes; do not count overlapping corners twice.
For a circular pier, use π × radius² × depth, with the radius equal to half the diameter. For an L-shaped slab, divide the plan into rectangles that do not overlap, then add their volumes.
What to check before ordering
- Measure the inside of the forms, including changes in thickness and any thickened edges.
- Use the actual excavation dimensions if the soil will form the sides; an oversized trench can consume more concrete.
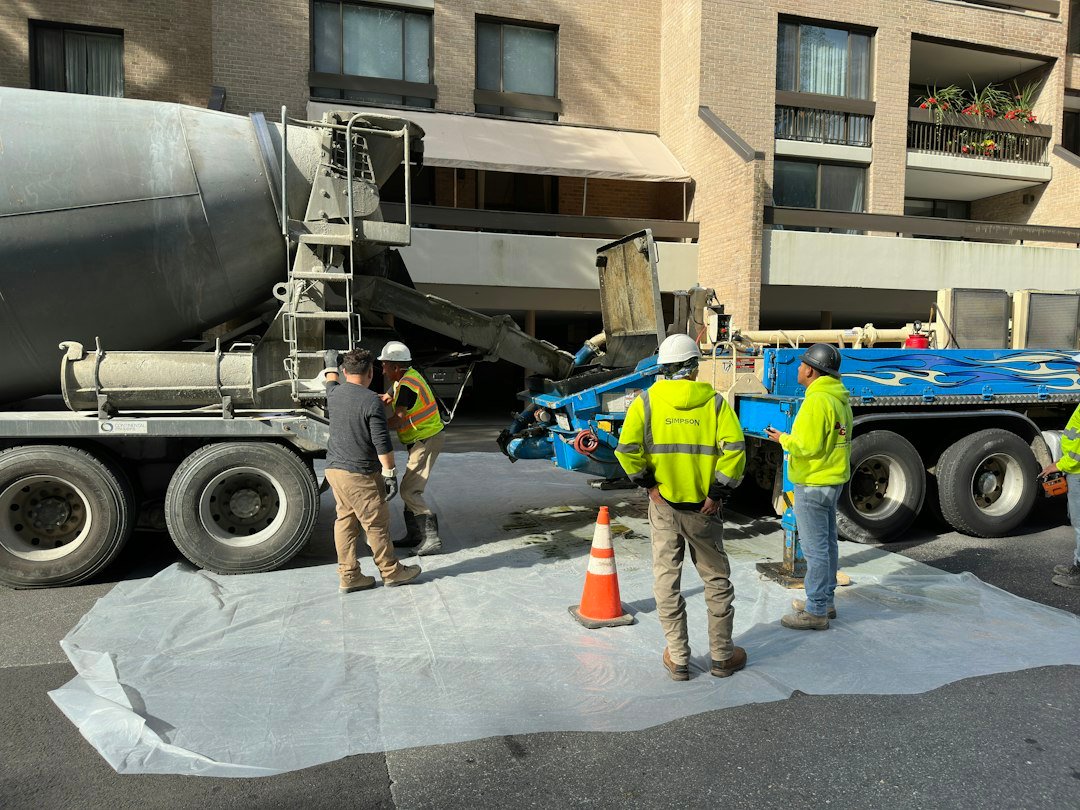
- Ask the supplier about minimum loads, delivery access and the available mix specified by your engineer or project documents.
- Add an allowance only for a real source of variation; 5% is an example, not a universal rule.
These calculations estimate quantity, not structural design. Follow the approved drawings for thickness, reinforcement and mix specification. For another check, use the Construction Calc Lab calculator and compare the result with your measured dimensions.
A reliable workflow to calculate concrete volume
A useful estimate should be easy for another person to check. Sketch the pour before entering numbers into a calculator. Label each slab, beam, footing and pier with a simple reference, such as S1 or F2. Record its dimensions beside the sketch. This avoids mixing a garage measurement with a patio measurement when several parts of a project are being ordered together.
Keep three separate totals: the geometric volume, the allowance for site conditions, and the final ordered quantity. The first comes from measurements, the second is a judgment that should be explained, and the third must match the supplier’s available increments. Keeping them separate makes later changes transparent. If a slab becomes thicker, you can update its geometric volume without guessing which part of the old total was extra material.
Step 1: establish the units
Write units next to every measurement. A dimension written as 4 could mean four inches, four feet or four metres. Convert dimensions before multiplication rather than attempting to correct a mixed-unit result afterward. For imperial calculations, use decimal feet or keep thickness as an exact fraction of a foot until the final calculation. In metric calculations, convert millimetres to metres by dividing by 1,000.
Step 2: measure the volume actually being filled
Plans provide the starting dimensions, but the inside of the finished forms determines the placement volume. Take several thickness readings where the base is uneven. If different zones have clearly different depths, calculate each zone separately. An average based on a few convenient shallow readings can underestimate the material required across the entire pour.
Step 3: check the result independently
Recalculate with a different order of operations. First multiply the plan area by thickness. Then compare that result with a calculation for one square foot multiplied by total area. Both should agree. An independent check is especially useful when a calculator accepts mixed units automatically, because an accidentally selected centimetre or inch field can still produce a plausible-looking number.
How to calculate concrete volume in cubic metres
Consider a patio measuring 5 m by 4 m with a specified thickness of 100 mm. Convert 100 mm to 0.10 m, then multiply 5 × 4 × 0.10 = 2.00 m³. An illustrative 5% allowance produces 2.10 m³. These dimensions are a quantity example, not a recommendation for patio thickness. Use the thickness required by the actual project design.
If the same patio becomes 125 mm thick, the nominal volume is 5 × 4 × 0.125 = 2.50 m³. A thickness increase of just 25 mm therefore adds half a cubic metre. This demonstrates why measuring depth is as important as measuring length and width. The plan area has not changed, but the material requirement has increased by 25%.
When a supplier quotes in a different unit, retain the original metric calculation in your worksheet. Convert the completed volume once, and label the result clearly. Avoid converting every dimension into feet unless that is needed for another part of the estimate. Fewer conversions mean fewer opportunities for rounding and transcription errors.
Calculate concrete volume for more complex shapes
An L-shaped patio is easiest to understand as two rectangles that meet without overlapping. Suppose one section measures 12 × 10 ft and the other measures 8 × 6 ft, both 4 in thick. Their combined area is 120 + 48 = 168 ft². The nominal concrete volume is 168 × (4/12) = 56 ft³, or 2.07 yd³.
For a triangular section, calculate the area as one-half of the base multiplied by the perpendicular height, then multiply by concrete thickness. Do not use the sloping edge as the triangle’s height. If the triangle has a base of 10 ft and a perpendicular height of 6 ft, its area is 30 ft². At 4 in thick, it adds 10 ft³.
For a circular slab, use π × radius² for the plan area. A slab with a 10 ft diameter has a 5 ft radius. At 4 in thick, its volume is π × 25 × (4/12), approximately 26.18 ft³ or 0.97 yd³. The radius is squared, so using the full diameter as the radius would make the estimate four times too large.
Thickened edges and separate beams
A slab with a thickened perimeter needs an additional calculation. If the main slab calculation already includes the standard thickness over the edge area, add only the extra depth below that slab. Adding the entire edge depth again would count part of the concrete twice. At corners, account for the overlap between adjoining edge strips using a sketch or a segmented takeoff.
Choose an allowance you can explain
The NRMCA guide to ordering ready mixed concrete discusses quantities above plan estimates to allow for contingencies. Its published range is 4% to 10%. Choose an allowance with the contractor and supplier based on the actual forms, excavation and placement method; do not apply an arbitrary percentage without checking site conditions.
An allowance should not hide a known measurement problem. If a trench is visibly wider than the drawing, measure the trench and correct the nominal volume first. Apply a justified allowance after that correction. Otherwise, you may underestimate a large over-excavation while assuming that a small waste percentage has already covered it.
Also distinguish percentage allowance from order rounding. A requirement of 3.89 yd³ rounded to an available 4 yd³ order already contains additional concrete. Adding another full allowance after rounding can overstate the quantity. Record the arithmetic in the sequence used so the person placing the order understands exactly what is included.
Convert concrete volume into bags
Bagged concrete is normally estimated from the yield shown on the product label or data sheet. Bag weight by itself does not establish the final mixed volume. Two products with the same package weight can have different yields, applications or mixing instructions. Check the product you will actually buy rather than relying on a generic bag chart.
For an arithmetic example, assume the chosen bag yields 0.60 ft³ of mixed concrete. A small project requiring 6.30 ft³ after allowance would need 6.30 ÷ 0.60 = 10.5 bags, rounded up to 11 whole bags. If you use a different product, replace 0.60 with its stated yield. Do not mix the bag count formula with cement-only calculations.
For a large quantity, compare more than the purchase price. Include transport, storage, mixing equipment, crew capacity and the time needed to maintain a continuous placement. A lower cost per bag does not necessarily mean a lower completed pour cost when substantial manual handling is involved.
Turn the estimate into a clear supplier order
Give the supplier the project location, requested quantity and unit, specified mix, intended placement method, planned delivery time and access constraints. Mention whether concrete will be pumped, discharged directly or moved by another method. Confirm who will check the delivery ticket and who is authorized to approve any order adjustment during the pour.
Request separate prices for concrete, delivery, small-load charges, waiting time and any pump service. This keeps the quantity estimate useful even when prices change. A volume worksheet should not claim to predict every local fee. Written quotes also make it easier to compare two suppliers without accidentally comparing a delivered price with an ex-plant price.
Before confirming delivery, ensure that the forms and base are ready and that the placement crew has reviewed the quantity. A correct concrete volume calculation is only one part of preparation. Access, sequencing and a clear communication plan help keep the material order aligned with the work that can actually be completed.
Frequently asked questions about concrete volume
Can I calculate concrete volume using square footage alone?
No. Square footage measures area. You also need the thickness of the concrete to calculate a volume. A 200 ft² area at 4 in thick needs 66.67 ft³ before allowance, while the same area at 6 in thick needs 100 ft³. Always identify the specified thickness before converting the result to cubic yards.
Should I subtract reinforcing steel from the quantity?
For a small preliminary takeoff, follow the estimating convention specified for the project rather than inventing a deduction. Dense reinforcement or large embedded items may justify a more detailed calculation. Keep assumptions documented, and ask the responsible estimator or engineer how deductions are handled in the project’s quantity schedule.
Why does the supplier’s order differ from my exact result?
The exact geometric volume does not include every site variation, and suppliers may sell in fixed increments. Compare the nominal volume, allowance and rounding separately. This usually explains the difference. If it does not, check units and dimensions before changing the order.
Where should I continue after calculating the volume?
Use the concrete quantity guide to review the overall process, or the slab estimation guide for a slab-specific example. Keep a copy of your measurements, calculation, supplier quote and final delivery quantity. That record gives you a useful reference when estimating a similar project.
7 easy concrete volume checks before delivery
- Drawing revision: confirm that every dimension comes from the current plan or a documented field measurement. A correct calculation based on an obsolete slab outline is still the wrong order.
- Thickness: check the depth at several representative locations. Do not use one convenient point to represent a visibly uneven base.
- Units: mark feet, inches, metres and millimetres explicitly. Convert the inputs before multiplying, and write the result with its cubic unit.
- Geometry: look for missing corners, thickened edges, pads and steps. Highlight every measured section on the sketch so omissions are visible.
- Overlap: verify that adjoining sections share boundaries without counting the same block of concrete twice. This matters particularly at strip intersections and slab edges.
- Allowance: record the nominal quantity, the reason for extra material and the amount added. Keep supplier rounding visible as its own final step.
- Order confirmation: compare the written order with the worksheet, including the mix reference and placement location. Resolve a unit or quantity mismatch before the truck is dispatched.
How a small depth change affects concrete volume
Consider a 20 × 20 ft slab. Its area is 400 ft². At 4 in thick, the nominal volume is 400 × (4/12) = 133.33 ft³, or 4.94 yd³. If its average actual thickness becomes 4.5 in, the volume is 400 × (4.5/12) = 150 ft³, or 5.56 yd³. Half an inch across the entire area adds approximately 0.62 yd³.
This comparison does not mean you should reduce the designed thickness to save material. It shows why the prepared base and actual form levels matter to the estimate. When the base is lower than expected, correcting the quantity requires measuring the resulting fill depth. A standard percentage allowance may not be enough to cover a systematic thickness difference across a large slab.
A useful worksheet can show a low, expected and high quantity based on measured depth variation. Label these as estimating scenarios. They help the contractor decide whether more field measurements are needed before committing to an order. The design thickness remains the governing requirement, while the scenarios explain the possible purchasing quantity.
Keep a short record after the pour
After placement, record the quantity ordered, the quantity delivered and any returned material or separate cleanup load. Compare these with the original nominal estimate. Note observed reasons for a difference, such as an enlarged section, changed depth or a revised work area. Avoid assuming that every difference was waste; some of it may reflect a genuine scope change.
For repeat work, this record is more useful than applying the same extra percentage indefinitely. You can identify whether the same form system or type of excavation repeatedly requires an adjustment. Keep the conclusion specific to comparable projects. A result from a formed interior slab should not automatically become the allowance for a rough foundation trench.
Finally, save the measurement sketch with the delivery records rather than keeping only the final number. A future estimator can then understand how the concrete volume was obtained and which conditions affected it. That makes the estimate reusable without turning an old project quantity into an unsupported rule for a different job.
Featured photo: Acton Crawford / Unsplash.